HD44780 LCD, I/O expanders, I2C interface etc
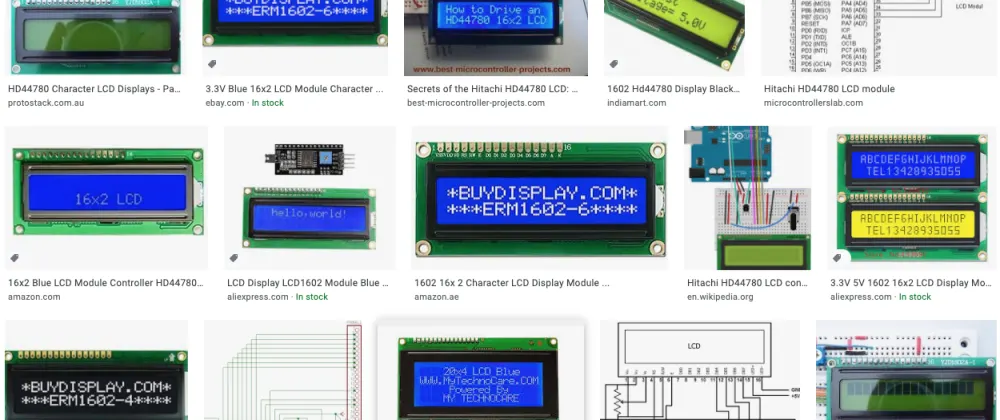
Here is my study note on the HD44780 Character LCD and the options for it connection to the controller devices.
HD44780 LCD
- a Character LCD as opposed to a Graphical LCD
- ideal for displaying text
- comes in various sizes but 16x2 and 20x4 seems popular
According to Wikipedia:


Do we need the soldering?
We have an option of purchasing:
- parts separately and solder them together ourselves or
- pre-assembled products or
- SparkFun Qwiic Connect System and Adafruits STEMMA QT designed for easy I2C connection
For a standalone LCD, some products come with header pins soldered:
For an LCD with I2C interface module, some products are pre-assembled:
For SparkFun Qwiic Connect System, most products come with Qwiic connectors:
LCD pins
The HD44780 LCD typically has 16 pins but some products add extra pins for RGB backlight.
I personally categorize the LCD pins into four groups in my head so that they make sense to me:
- Power and contrast (pins 1-3)
- Special pins (pins 4-6)
- Data pins (pins 11-14)
- Backlight pins (optional; pins 15-16 or 15-18)
Wikipedia and Adafruit Character LCD wiring instructions may be helpful to see the broad picture. For further info, I found helpful the following links:
- HD44780 data sheet
- How to Use Character LCD Module | elm-chan.org
- Difference between interfacing character 16×2 LCD in 4-bit and 8-bit mode | engineersgarage.com

Power and contrast (pins 1-3)
| LCD pin # | LCD pin name | |
| 1 | Ground | |
| 2 | VCC | +3.3 to +5V (typical) |
| 3 | Contrast | +3.3 to +5V (typical) |
Special pins (pins 4-6)
| LCD pin # | LCD pin name | |
| 4 | Register Select (RS) | 0: Instruction , 1: Data |
| 5 | Read/Write (R/W) | 0: Write, 1: Read; most likely always 0 |
| 6 | Enable (EN) | Starts read/write |
Particularly the Register Select bit and the Enable bit are important. Register Select switches between the instruction mode and the data mode when we interact with the display. The Read/Write bit is not needed if we are only writing to the display. We will most likely to connect the Read/Write pin to ground so that it is always low.
Data pins (pins 11-14)
| LCD pin # | LCD pin name | |
| 7-10 | Data Bit 0-3 (DB0-3) | Unused in 4-bit operation |
| 11-14 | Data Bit 4-7 (DB4-7) | Transfers instruction or data |
The HD44780 LCD has 4-bit mode and 8-bit mode. The 4-bit mode allows us to split a data byte (8-bit) into high four bits and low four bits, then sent them separately. That way, we can reduce the number of the required I/O pins by half. It seems like typically most people only use the 4-bit mode.
The byte we send to the display can be either instruction or data depending on the Register Select bit.
Backlight pins (optional; pins 15-16 or 15-18)
| LCD pin # | LCD pin name | |
| 15 | Backlight Anode | If applicable |
| 16 | Backlight Cathode or Red | If applicable |
| 17 | Backlight Cathode Green | If applicable |
| 18 | Backlight Cathode Blue | If applicable |
The backlight is not directly relevant to controling the LCD. It can be done independently.
The original HD44780 LCD only has a single color LED backlight using pins 15-16. Some newer HD44780-compatible LCDs has RGB backlight using pins 15-18.
We should plan ahead of time about what we want to do with the backlight. Many I2C modules do not support RGB backlight. If a display has an RGB backlight and we only use pin 15-16, the backlight would be fixed to the red color, which would not be ideal.
With the RGB backlight, it is easy to to get yellow, pink and cyan just by switching on/off red, green and blue. It is simply the combination of red, green and blue.
If we want to control 24-bit RGB for more precise colors in beween red, green and blue, we would need Pulse Width Modulation (PWM) so that we can adjust the brightness for each color.
Adafruit RGB Backlit LCDs instructions may be helpful.
Custom font
The HD44780 LCD allows us to register custom characters; however I personally would not bother because I do not find the feature useful. According to Wikipedia:
I/O expanders
- A serial to parallel converter.
- Allows us to adds additional GPIO ports.
- Reduces the number of GPIO ports on our controller device that are used for the LCD.
There are so many I/O expanders out there, but it seems like the following items are among the most poplular for the LCDs:
- 8-Bit I/O Expander PCF8574
- 8-Bit I/O Expander MCP23008
- 8-Bit Shift Register SN74HC595
- 16-Bit I/O Expander MCP23017
We need 6-7 pins out of eight to control the LCD so the 8-bit I/O expander runs out of pins for the RGB backlight. We can switch on/off one LED.
I2C / SPI module
Different products out there use different I/O expanders internally, so please be aware of which I/O expander you are using if you use something like an I2C / SPI backpack. Also the pin assignment between the LCD and the I/O expander is important.
PCF8574-based I2C module
As far as I know, the PCF8574-based I2C modules are the most popular and inexpensive. A pre-assembled 16x2 LCD with I2C module is typically less than US$10. Handson Technology I2C Serial Interface 1602 LCD Module User Guide summarizes the typical specifications of the PCF8574-based I2C module.

Adafruit i2c / SPI character LCD backpack
The Adafruit i2c / SPI character LCD backpack supports both I2C and SPI interfaces. It uses MCP23008 for I2C and SN74HC595 for SPI as of writing.

The following wiring worked well:
| LCD backpack | Raspberry Pi - I2C | Raspberry Pi - SPI |
| Clock (CLK) | Serial Clock (SCLK) | Serial Clock (SCLK) |
| Data (DAT) | Serial Data (SDA) | Controller Out Peripheral In (COPI) |
| Latch (LAT) | - | Chip Select (CS) |
SparkFun Qwiic Connect System
I have never used the Qwiic Connect System before but it looks like a nice option when we need to connect multiple deviced on the I2C bus.
It seems promissing but since it is relatively new, I am concerned that there is not much information available as of writing.
I'll try it soon.
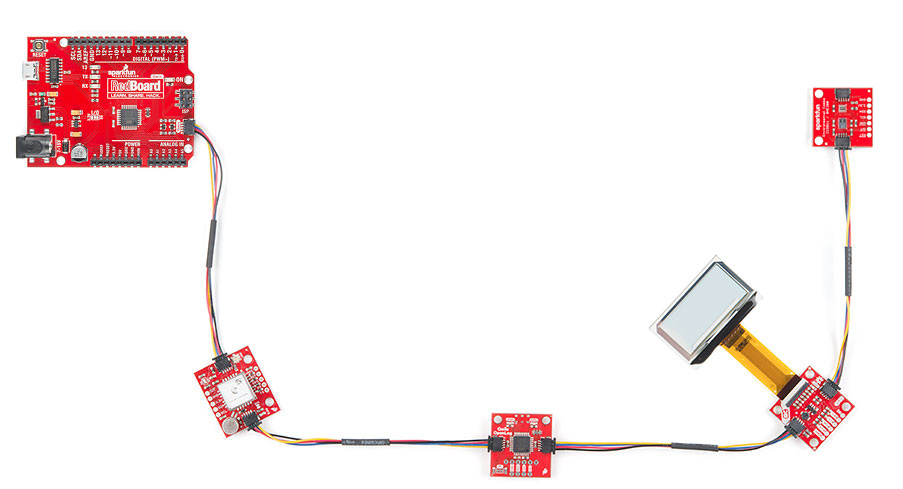
- SparkFun Qwiic pHAT v2.0 for Raspberry Pi
- SparkFun 16x2 SerLCD - RGB Text (Qwiic)
- sparkfun/Qwiic_SerLCD_Py library - Python module for I2C control of the SparkFun Qwiic Serial LCDs
Adafruit STEMMA QT
It is similar to SparkFun Qwiic Connect System.
USB interface
There is also a USB interface. I wonder when this option can be useful because for example Raspberry Pis do not have many USB ports.
Conclusion
- Before using the LCD, it is nice to understand roughly how the LCD works.
- Different products out there use different I/O expanders internally.
- The pin assignment between the LCD and the I/O expander is important.
- The PCF8574-based I2C module is nice and inexpensive solution.
- SparkFun Qwiic Connect System seems promising but since it is relatively new, there is not much information available as of writing.
I have not used SparkFun Qwiic Connect System or USB interface but I am curious about them. I'll try them out soon and keep on updating the contents as I learn more.